Unboxing of the router & images
(ALL INSTRUCTION AS BELOWING ) Original editor :Kiswum
The package of the router looks like the packages I’ve seen from Xiaomi’s mobile phones. It is made out of brown cardboard with a Mi logo on top and a label with the specifications on the back. The box had a little bump in one corner, but I didn’t notice it until I checked the pictures afterwards. This means that the package is strong enough to receive some beatings during the trip.
When you open the package, you will see the router wrapped in a plastic seal. Underneath it you will see the manuals and power adaptor.
I was hoping to see at least a EU connector, a network cable and a CD within the package. What I really missed was this EU connector. This router is meant for Asia and this is the reason why it is not packed with a power connector for Europe/The Netherlands. When you order this router outside China, then make sure that you ask for a converter for the power supply.
Contents of the box:
- 1 x Xiaomi Mi Wi-Fi router
- 1 x Power cable
- 2 x Documentation
The router looks like a premium product and feels massive (in a good way). It makes you feel that you are holding a single bay NAS in your hand. This is not very strange, because the router has a harddisk built into the casing. You can’t see or feel that you are dealing with a low-budget router. What Xiaomi did with the smartphones, they just did it again! They created a low-budget product with the looks of a mid-range to top-market product.
I think that the looks are fine, not to fancy or to playful. When you see the images of this router for the first time, you could think it has something to do with the Apple Mac Pro. I must admit that it does have some similarities, but there are many differences in shape and looks.
Description of the MI router:
On top of the router, you will find a glossy layer with the Mi logo nicely engraved on it. The rest of the router uses the same material as the Linksys routers. I think the material is called “matte synthetic”. The 2 sides don’t have any buttons or anything else, it’s just clean.
The bottom of the router has 4 small rubber pads. If you would remove the pads, you will find a MI logo on the screws, you need to pierce it when you want to remove the screws. When the plate has been remove, then you will probably see the harddisk. On this plate, you will also see the label of the router.
The front of the router has just one LED. The LED turns orange while the router starts and changes to blue when the router is ready for usage.
The back of the router holds the important connections. Here you will find the USB, 1Gbit LAN, 1Gbit WAN connectors, reset button and the power connector.
Around the top of the router (about 1/3 of the router), there is a grate to release warm air from the router and the harddisk.
Functionality of the router
Wi-Fi:
The router is equipped with 2×2 internal dual-band antennas, which can communicate on the 2,4GHz and 5GHz range. The maximum speed is 300Mbps and 866Mbps for wireless connections. I have tested it for a week with several mobile phones and computers. I have placed the router where most people would put it, near my TV and current internet router. The router is placed in the living room on the 1st floor. I was able to pick up the 5GHz and 2,4GHz network at ~40 meters outside my home, but I haven’t really tested the internet connection from that location yet. When I’m in the living room the network connection never dropped, but unfortunately the router wasn’t powerful enough to provide a good connection all the time on the 2nd floor. It can work for the whole day but after a while you can notice that the connection is gone. At that moment you can’t connect to the router, although you can still see the router in the Wi-Fi settings.
We experienced the same thing with our other routers. This was the reason we have installed another router/accesspoint on the 2nd floor. This means that the Wi-Fi connection is as “powerful” as the rest of my routers (ZTE H220N, Linksys E4200 and Netgear WNDR3700).
In the nearby future I will test if the results will be better, when I turn on the “wall” mode.
More details will be added soon.
Network
Under construction
I wrote that IPv6 was not supported.
I have checked the current configfile and it looks like it is support via WAN.
Here is a part of the configfile:
| config rule |
| option name ‘Allow-DHCPv6’ |
| option src ‘wan’ |
| option proto ‘udp’ |
| option src_ip ‘fe80::/10’ |
| option src_port ‘xxx’ |
| option dest_ip ‘fe80::/10’ |
| option dest_port ‘xxx’ |
| option family ‘ipv6’ |
| option target ‘ACCEPT’ |
The only thing I can tell for now, is that it worked without any problems. The DLNA was visible via my SmartTV, Smartphone and computer.
Streaming media
Under construction
Performance measured with multiple devices
Under construction
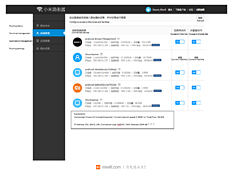
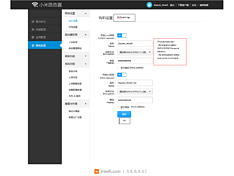
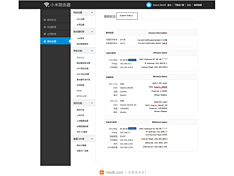
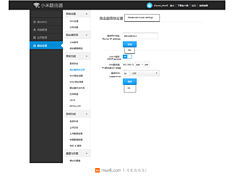
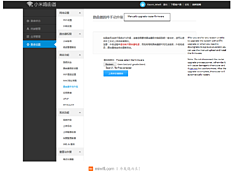
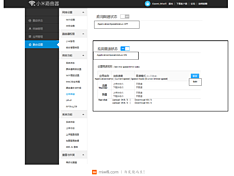
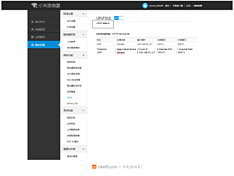
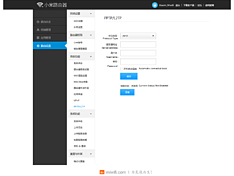
Settings and screenshots of the router (HOW INSTALLED & SETTING)
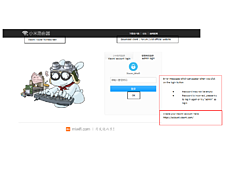
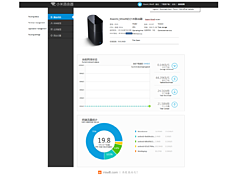
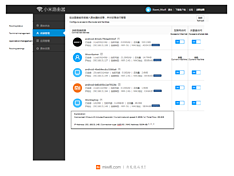
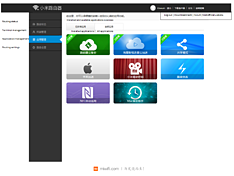
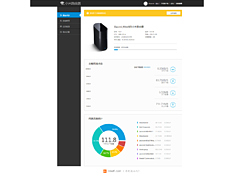
Here are “some” screenshots which are made from my phone and pc. You can enter the router via a browser (http://www.miwi-fi.com or 192.168.31.1) or via your Android or Apple smartphone. I can tell you a lot about the settings of the webbrowser, but I think it is better to check the screenshots that I have made. Unfortunately it wasn’t possible for me to translate the menu from the Android app, I hope Xiaomi will focus on extra languages for this router and the app as well.
Although I can’t read or speak Chinese at all, most pictures and buttons were very clear for me. Here is a list of a few things you can do via the Android app.
• Change the name of the router
• Change the admin password
• Change the WPA2 key
• Stream audio, video and pictures directly to your phone
• Check the amount of connected devices
• Reboot the router
Sequence Diagram ( From Left to right )

IF YOU LIKE THIS FULL REVIEW , PLEASE LIKE THIS POST & FOLLOW.


